How to Use the Pen Tool in PowerPoint
Welcome to LearnPowerPoint.io, where we dive into the essentials of maximizing your presentation’s potential. Today, we’re exploring the versatile Pen Tool in Microsoft PowerPoint, a powerful feature that enhances your slides with custom annotations and drawings.
Category: PowerPoint Tutorials
Step-by-Step Guide
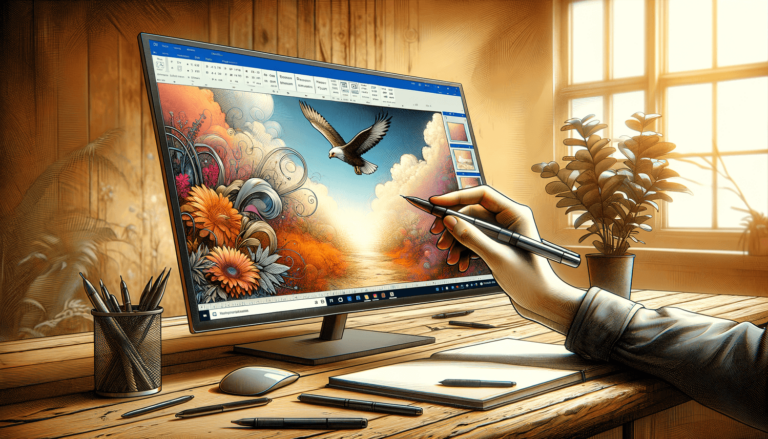
1. Accessing the Pen Tool
- Open your PowerPoint presentation and navigate to the “Draw” tab on the Ribbon, which is visible in the latest Microsoft Office versions.
- This area gives you access to the Pen Tool along with various customization options such as ink color and thickness.
2. Drawing with the Pen Tool
- Click on the Pen Tool in the “Tools” group. Your cursor changes to a pen tip on the slide.
- Click and drag on the slide to draw. Release the mouse button to finish the drawing stroke.
- Alternatively, for touch-enabled devices, you can draw directly on the screen using your finger or a stylus.
3. Customizing the Ink
- Select the drawing you’ve made. New contextual tabs, “Drawing Tools” and “Format,” will appear.
- Use options in these tabs to change the ink color, line width, and transparency.
4. Erasing and Modifying Drawings
- To erase unwanted parts of your drawing, select the “Eraser” tool from the “Draw” tab and rub over the area you wish to remove.
- You can also modify the shape of your drawings using the “Edit Points” or “Convert to Shape” options, which can be powerful for creating custom designs or logos.
Pro Tips
- Utilize the “Lasso Select” tool to easily select irregular shapes and drawings for modification.
- Learn keyboard shortcuts like pressing
CTRL+Pto quickly switch to Pen mode during a presentation. - If drawing during a live presentation, configure the pen settings beforehand to ensure smooth operation.
Troubleshooting Common Issues
| Issue | Solution |
|---|---|
| Ink not appearing on the slide | Check if the slide is in “Slide Show” mode or ensure that you are in the correct “Draw” tab. |
| Unable to select drawings | Make sure the “Select Objects” tool is activated, or use “Lasso Select” for precision. |
Advanced Techniques
- Linking Drawings to Actions: You can link any drawing to an action such as jumping to another slide or playing a multimedia file, enhancing interactivity.
- Combining with Morph Transition: Drawings created with the Pen Tool can be effectively animated using the Morph transition, creating seamless flow in visual storytelling.
Compatibility Notes
- The Pen Tool features are best utilized in the latest versions of PowerPoint in Microsoft Office 365, with some features not available in older versions.
- Drawing capabilities may differ across other presentation software, so export functionalities may vary.
Conclusion
Mastering the Pen Tool in PowerPoint can transform your presentations from static slides to interactive, engaging visuals. We encourage you to experiment with this feature to enhance your next presentation. Explore more advanced features on LearnPowerPoint.io.
FAQ
- Q: Can I use the Pen Tool during a live presentation?
A: Absolutely, activating the Pen Tool during a presentation is a great way to highlight points interactively.
- Q: Are my drawings saved with my PowerPoint file?
A: Yes, all drawings made with the Pen Tool are saved within the PowerPoint file and will appear when you reopen the presentation.
- Q: Can I remove all ink annotations at once?
A: Yes, go to the “Draw” tab and select “Erase All Ink on Slide” to clear all drawings.
Related


Featured Posts
- No pillar pages found.